Targets
# About targets
Targets are elements that can be influenced and have a value between 0 and 100%. Unlike resources, their value range and unit cannot be changed.
They have indicators that can be used to document how their initial state comes about.
Goals are ideal for models in which normalized and/or abstract values are used.
# Create
Targets can be created either via the sidebar of the model, via the toolbar or via the network right-click menu.
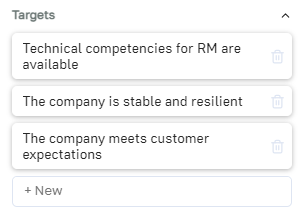
Via the sidebar
- Open the model sidebar.
- Expand the “Elements” section.
- In the “Targets” sub-item, enter the title of the new destination in the field labeled “+ new”.
- Confirm with Enter.
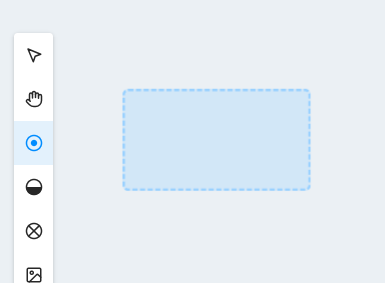
Via the toolbar
- Select the target icon on the toolbar.
- Click on the network or draw a rectangle.
- The new target is in the network. Click on it to give it a name.
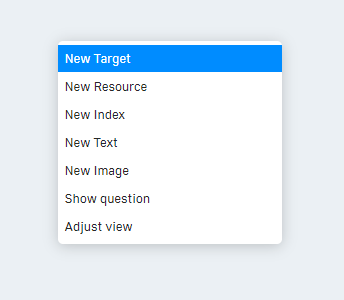
Via the right-click menu
- Right-click in the mesh at a free position.
- Select “New target” from the menu that appears.
- The new target is in the network. Click on it to give it a name.
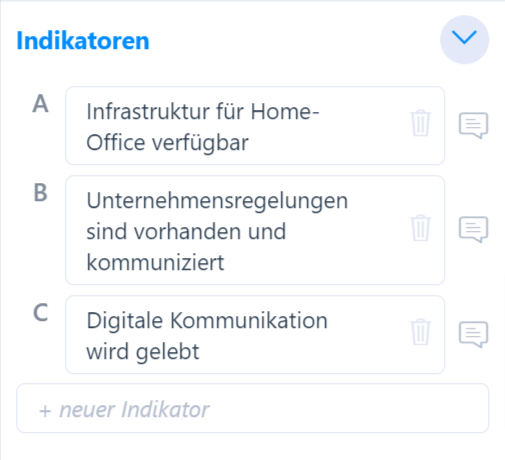
# Indicators
The indicators help to capture the meaning of an element more precisely and to define the element statuses.
They can be created using the “+new indicator” field. To do this, enter the name of the desired indicator and confirm by clicking on the small “plus” or by pressing Enter.
The indicator can be removed at any time using the trash can symbol next to its name. The small speech bubble next to the name allows you to add a more detailed description in the form of a comment.
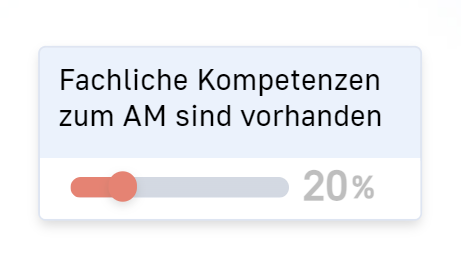
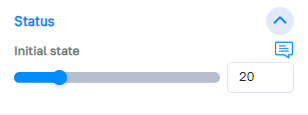
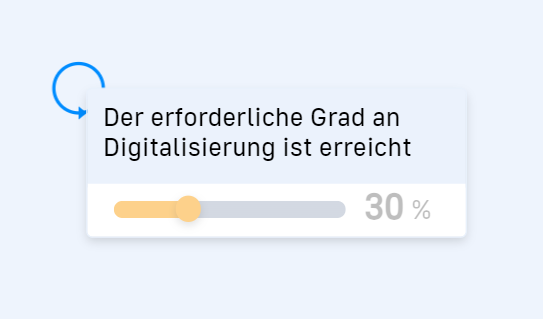
# Status
Each target has a status between 0 and 100%. The starting state of the target can be defined in the “Status” section, either via the slider or via the input field.
This state can be changed dynamically during simulations, but at the start of each simulation the target starts with the value that is set here.
The status can also be set directly at the target in the network: either via the status slider (click and drag) or via the value (double-click, enter new value).
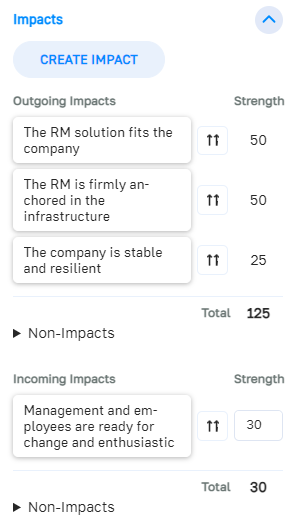
# Impacts
Targets can have impact relationships with other elements.
The “Impacts” section lists all of the target’s impact relationships, subdivided into outgoing and incoming impacts.
Outgoing impacts change other elements when the status of this target changes.
Incoming impacts change the status of this target when the respective linked element changes.
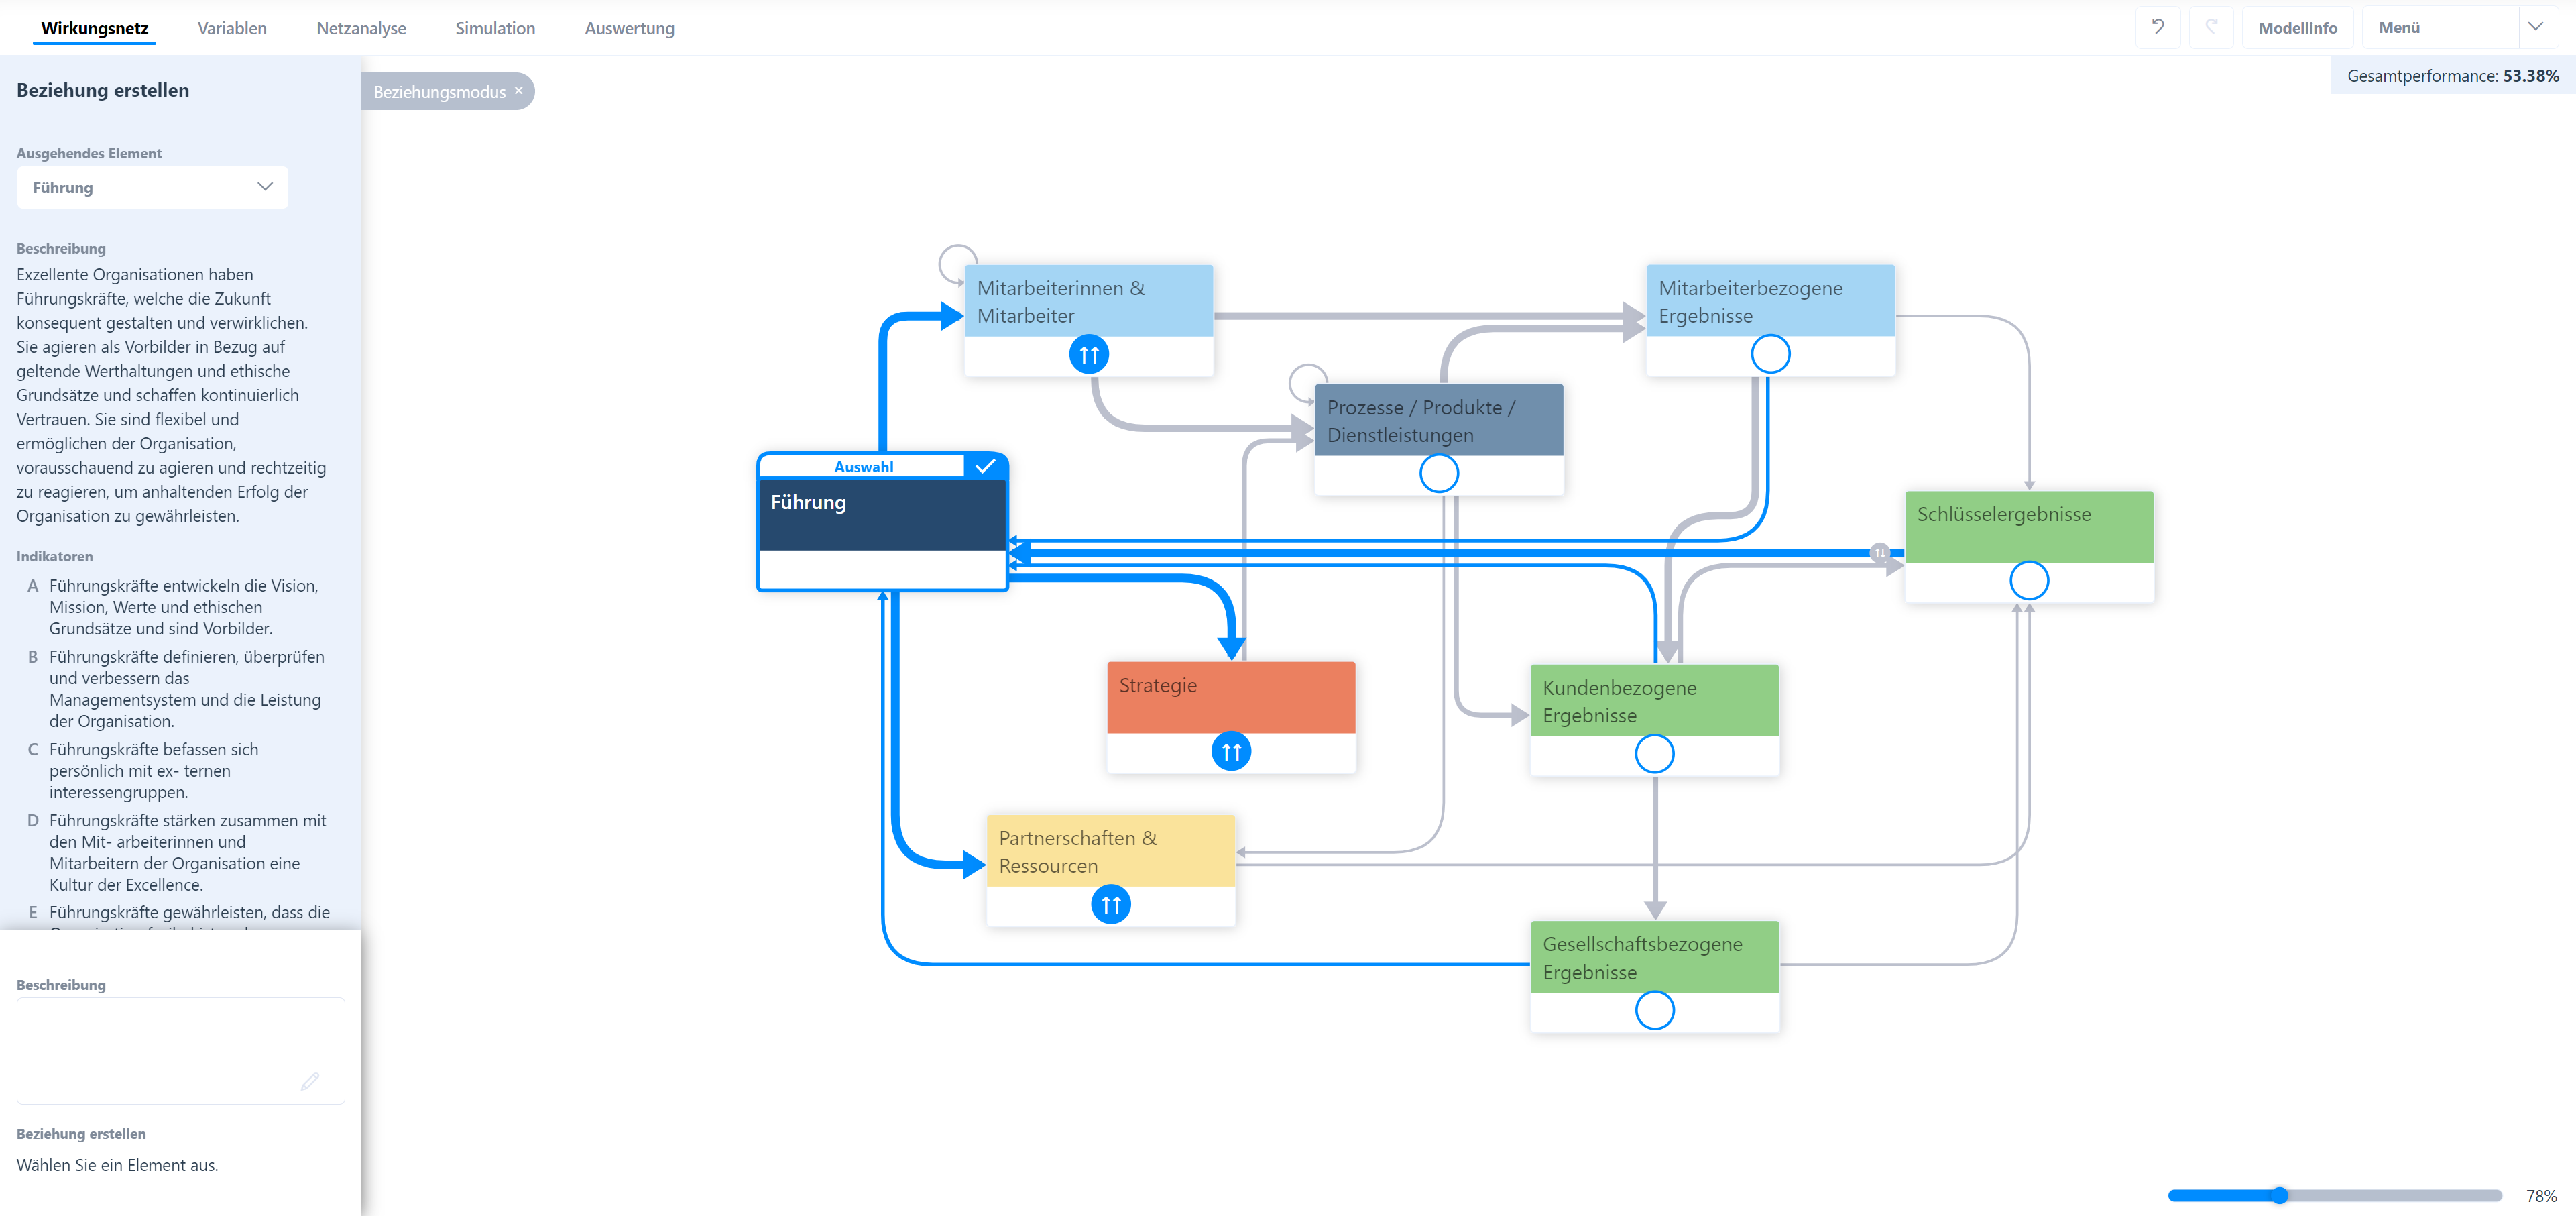
The “Create impact” button takes you to effect mode. There you can define outgoing impacts between this target and other elements.
Non-effects document that there is no impacts and are listed separately.
# Self-Driven Dynamic
The self-driven dynamic of a target controls how the status of the target changes over time.
The self-driven dynamic can be created in the “Self-Driven Dynamic” section. The self-driven dynamic is then displayed in the grid via a small circle in the top left-hand corner of the target.
If the self-driven dynamic is selected, it can be edited in the sidebar.
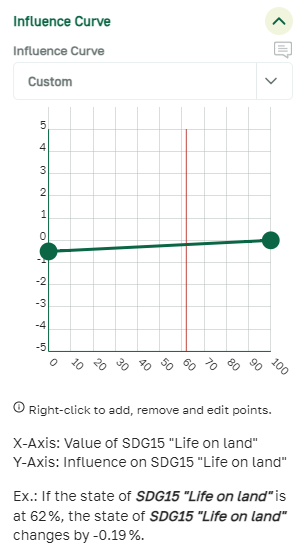
In the “value” section of the self-driven dynamic menu, you can set the change in the target depending on the status.
How do you read the curve?
The Y-axis determines the value of the change in the target, the X-axis shows the current state of the target. During the simulation, the corresponding self-driven dynamic value is formed from the current target state in each simulation step. This value is added to the state of the target.
The “Interval” section defines how often the element’s self-driven dynamic should take impact.
With an interval of 0, the self-driven dynamic is activated in every simulation step; with an interval of 1, one step is omitted between each activation.
An image for the self-driven dynamic can be set in the “Design” section. The image is displayed in the simulation when the self-driven dynamic is activated.
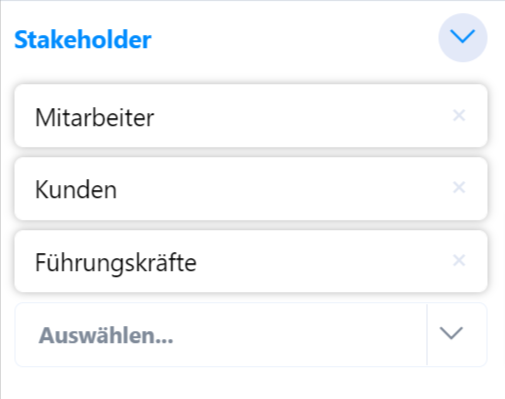
# Stakeholders
In the “Stakeholders” area, you can document which stakeholders are affected by the objective or have an influence on it.
Stakeholders in simcision have no technical influence on the result of the simulations, they are purely for documentation purposes.
Select which stakeholders are linked to the target by choosing from existing stakeholders in the list or creating a new one.
Click on a stakeholder entry to open the stakeholder menu, where you can edit each stakeholder directly.
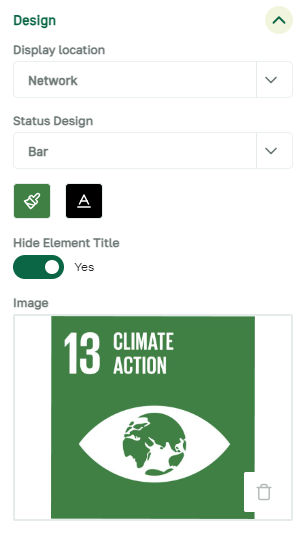
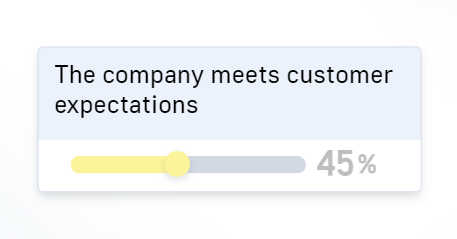
# Design
The visual representation of the target in the network can be determined under “Design”.
The “Display location” controls whether the target is to be displayed in the network or only exists hidden in the model.
The “Status display” determines whether the state is displayed in the network as a bar or only as a number.
In addition, the font and background color of the target can be determined, an image can be uploaded and the title can be hidden.