Functionality

# Simulation procedure

The simulation has a fixed sequence, in each round all influences and effects are processed in the same order.

All influences that affect the elements during the simulation are first noted as “impulses” for each element. Once all the influences of the model have been processed, these impulses are offset against the current element states.

Simulation steps of each round:

  1. Pending impacts
    If an action or event with an impact has been activated over several rounds in a previously simulated round, the impacts of this influence are distributed as impulses to the elements.
  2. Impact Links
    Impulses are now transferred to the influenced elements from all elements with outgoing impact links. The impulse transferred depends on how much the state of the source element has changed in the previous round. This impulse is weakened or strengthened by the value curve of the relationship and added to the target element.
  3. Self-Driven Dynamics
    All the elements’ own self-driven dynamics are activated and give their associated elements an impulse.
  4. Constant influences
    All resources that have constant dependencies on elements and are therefore changed in each round depending on element states are assigned this effect as an impulse.
  5. Events
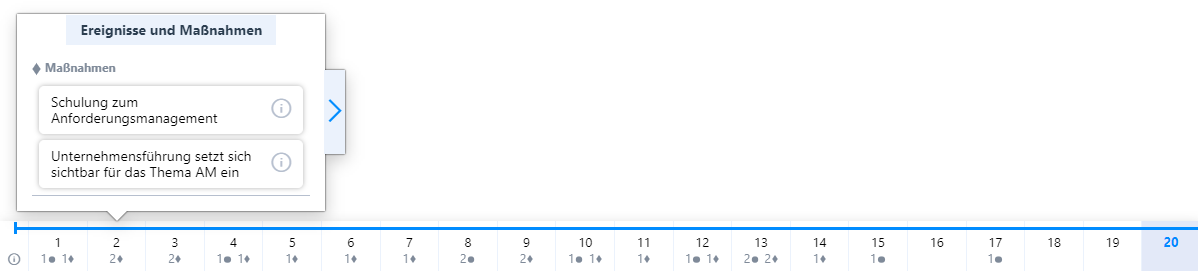
    All events are checked one after the other (in the order in which they are sorted in the menu) to see whether they occur. To do this, all their triggers are checked according to their conditions. If all the conditions of a trigger are met, the event occurs with the specified probability.
    Each event can only occur once per round.
  6. PAUSE
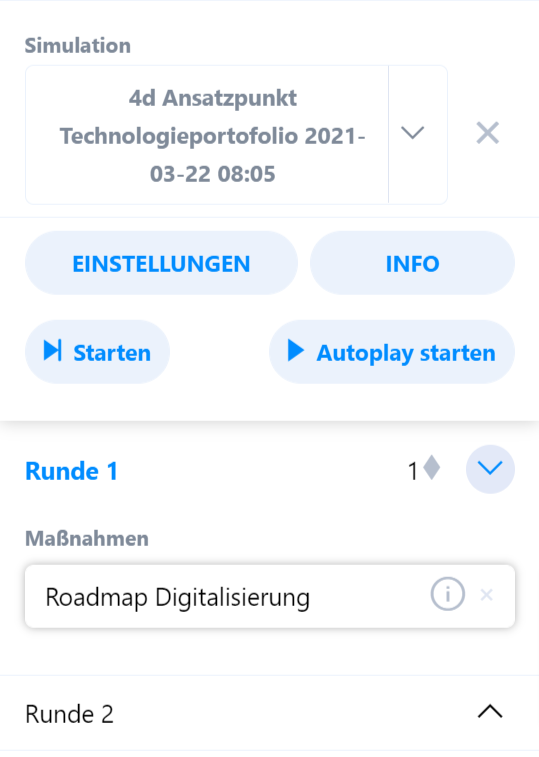
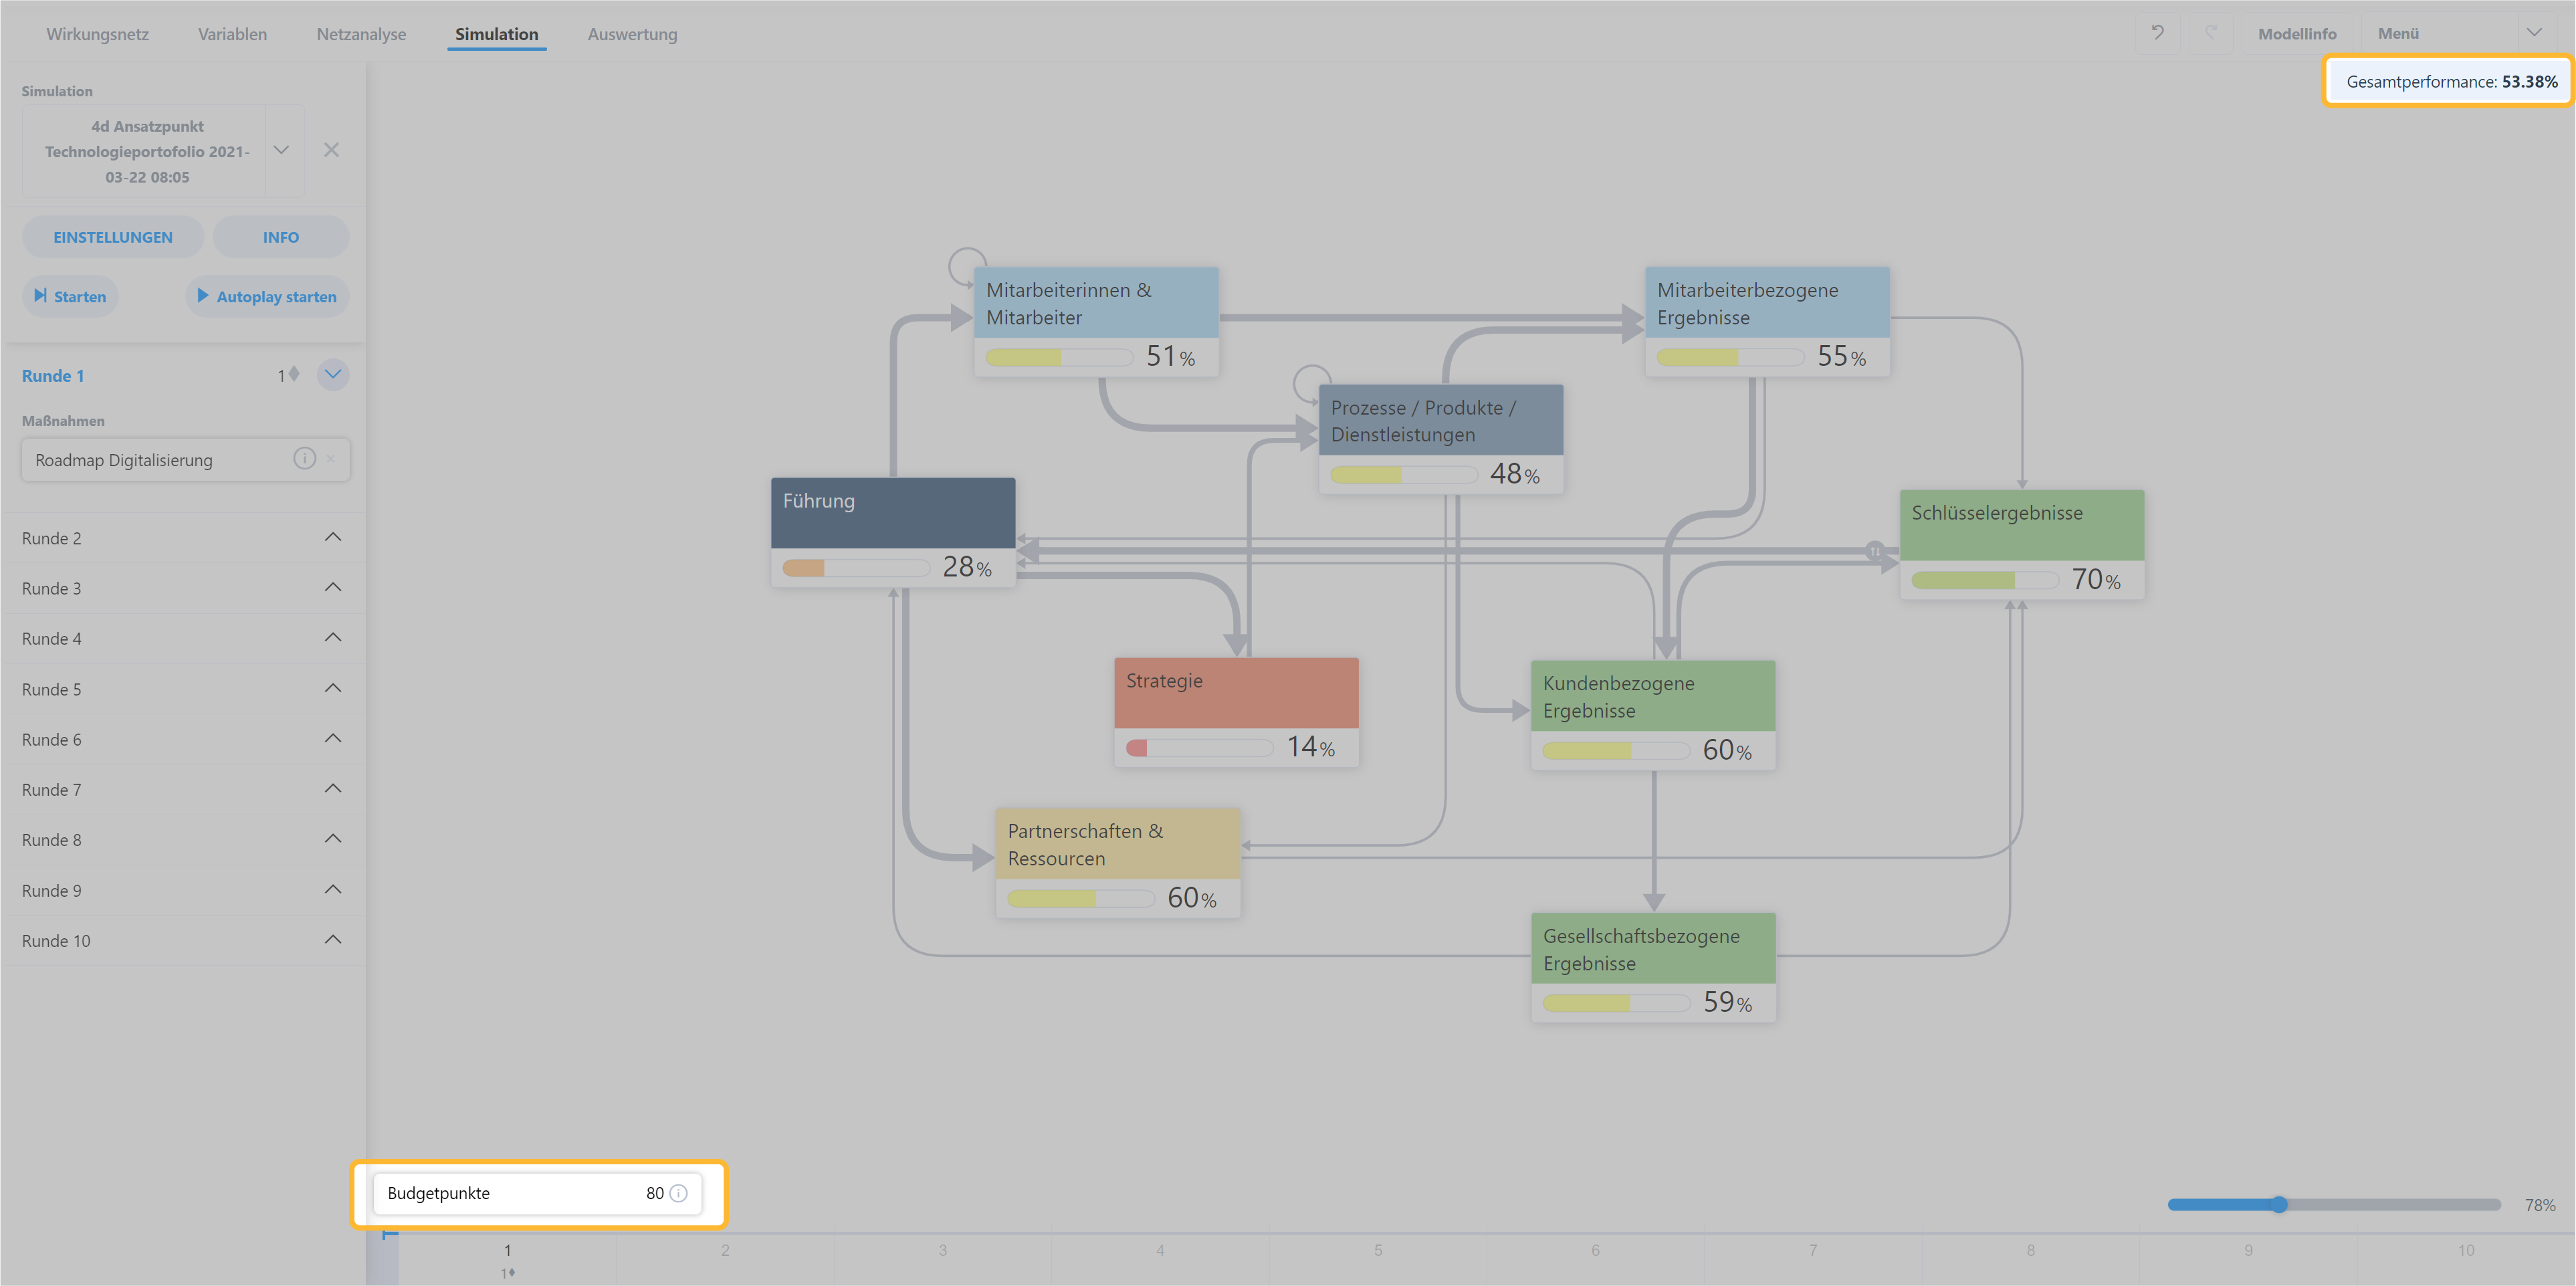
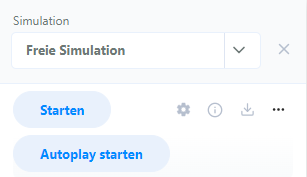
    The simulation stops here – now is the time to react to the previous effects and events and plan actions or manual impulses.
    Click on “Simulate” to continue the simulation.
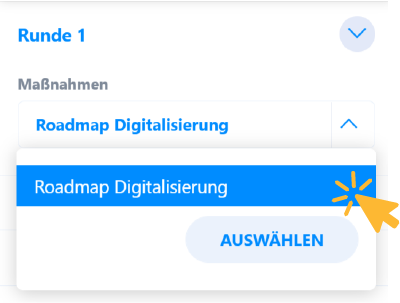
    (If “Autoplay” is activated, this step is skipped)
  7. Actions
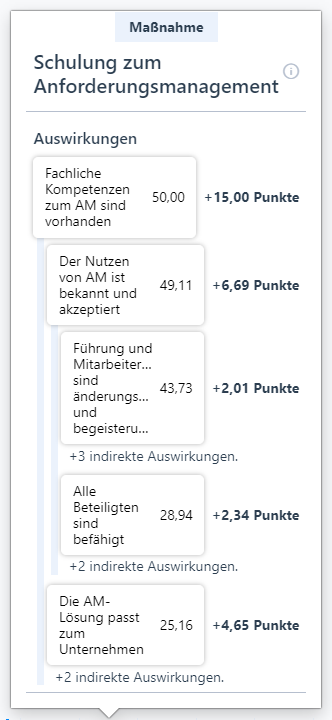
    All planned actions are executed one after the other (in the order in which they were sorted in the round menu) – their conditions are checked, the required resources are measured – if all their requirements are met, the action is triggered: Its costs are deducted and its effects are calculated as impulses.
  8. Manual impulses
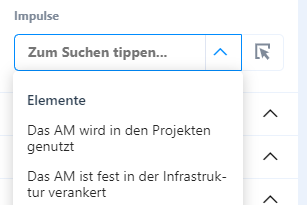
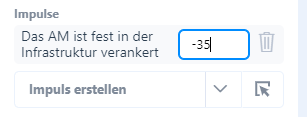
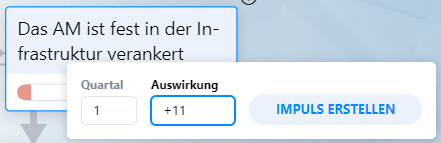
    All manually entered pulses are added directly to the corresponding elements or resources.
  9. Calculate impulses
    All impulses on the elements or resources are now calculated collectively and the states and values are recalculated.
  10. Check termination criteria
    After calculating the new element values, all termination criteria are checked. If one is fulfilled, the simulation is terminated.
  11. Start next round
    As long as the simulation is not finished, the next round starts automatically and all steps are carried out again – up to the “PAUSE” step.

Simulation procedure

# Action selection

In the round view on the left-hand side of the software, you can select individual actions for each round. To do this, click on “Add actions” and select the desired action from the list of actions.

A window will now open with an overview of the selected action; you must then confirm your selection a second time by clicking on the “Select” button at the end of the list of actions.

You can select several actions for a round or remove them at any time by clicking on the small cross next to the action.

As soon as you start the next round or autoplay, the selected actions will be executed.

You can select individual actions for each round or plan actions for several rounds in advance and adjust them according to the course of the simulation.

# Create Impulse

In a free simulation, you can create impulses that influence individual elements or resources in the network.

To do this, you select the affected elements, determine the points to be awarded and simulate the next round.

You can select the affected elements individually via the drop-down menu or use the button to the right of the drop-down to open a pop-up that allows you to select the elements in the network.

A impulse is created for all selected elements, the value of which can be adjusted as required.

Screenshot: Auswahl der Objekte, die von Impulsen beeinflusst werden

Any points can be assigned to the elements via the impulses created. The values entered here are offset against the current states of the elements in the next simulation step. The natural limits are observed: The status of an element can never rise above 100 or fall below 0.

Screenshot: Impuls im Impulsmenü, mit ausgewählem Wirkungseingabefeld

Impulses can also be created via the elements in the network. To do this, right-click on an element and select “Create impulse” from the context menu.

Screenshot: Impulserstellungsmenü im Wirkungsnetz

# Overall performance and resource overview

In the simulation overview, a gray field appears in the top right-hand corner, in which the overall performance of the system is displayed. This is the weighted average of all element states.

The resources and their respective values are displayed at the bottom left of the screen. Here you can see how much of which resource is still available for the rest of the simulation.

# Timeline

In the simulation overview, a timeline appears below the network of effects. The actions played in the respective rounds and the events that occurred are displayed on this timeline.

Click on the elements to open an additional description.

Screenshot: Simulationsleiste mit Popup

Each entry in a simulation round (action, event or impulse) can be opened to examine its effects on the network in more detail.

The entries in the impact list should be read as follows:

[Name of the element   Status of the element before impact] Impact level

Each effect can have indirect effects. These indirect effects come from the outgoing relationships of the influenced elements: An element with 5 outgoing relationships can influence a maximum of 5 elements. The level of the effect depends on the value curve of the respective relationship.

The effects are only displayed as long as they have a value of more than 0.01.


Screenshot: Maßnahmenliste aus Simulationsleiste

Overview

# Create simulation

Simulations can be created in the “New simulation” menu. You can give each simulation an individual name and description, but these fields are optional.

Each simulation belongs to one of two simulation types:

  • Free simulation
    Free simulation is simcision’s “experimental mode”. In free simulations, self-definable impulses can be given to the network in each round, which influence the status of elements or resources. You can also set (under “Further settings”) how many rounds the simulation should run and whether or not events, measures and internal dynamics should be used.
  • Scenario simulation
    Each scenario simulation is permanently linked to a scenario that was created in the “Variables” area. Self-defined impulses are not possible here. Only the events that are set in the scenario occur in the simulation and only the measures that were selected in the scenario can be used.
    The scenario simulation is well suited for testing simulations with fixed framework conditions.

# Manage simulations

Simulations that have already been created can be managed in the “Load simulation” area.

You can open a simulation by clicking on it; clicking on the recycle bin icon deletes the corresponding simulation.

You can call up the corresponding context menu by right-clicking on a simulation.

  • Duplicate simulation
    The simulation is duplicated with all settings, measures, impulses and events. The duplicate can continue to be simulated independently of the original.
  • Duplicate and reset
    A new simulation is started with the same settings; measures, individual impulses and lap notes are adopted.
  • Export simulation
    The simulation is exported as a JSON file. This file can be imported again in the “Import simulation” area.
  • Delete simulation
    The simulation is deleted. This step cannot be undone.

You can re-import exported simulations in the “Import simulation” area.

Please note that simulations can no longer be imported if elements, resources, measures or events belonging to the simulation have been deleted in the meantime.

Screenshot: Button "Simulation importieren"

# Settings and navigation

As soon as you have opened a simulation, you will see it in the menu on the left-hand side.

The simulation can be changed or closed in the header area.

Below this are control buttons for the open simulation.

or

Starts the next simulation section
Opening the settings area

In the “Settings” area, you can add a title and a description to the simulation.
You can also adjust the playback speed of the simulation and show or hide messages that appear during the simulation. You can continue to edit these adjustments during the simulation and change them at any time.

Open info window

The simulation info window gives you an overview of all the simulation data:

Simulation information – Information on whether the simulation has been completed and how many rounds have been played.

Scenario – information about the selected simulation scenario

Measures – Overview of all measures taken, their timing, their costs and the effects on the individual elements

Events – Overview of all events that have occurred and their effects

You can export this data at any point in the simulation in the form of a text file.

Download simulation

Downloaded simulations can be imported as long as the model has the same structure as the one in which the simulation took place.

Open/close autoplay area
Start autoplay

The “Start autoplay” button is used to run through all rounds of the simulation, including the previously defined measures and events, until the simulation has run through or reaches a termination criterion. Autoplay can be stopped at any time using the “Stop autoplay” button.